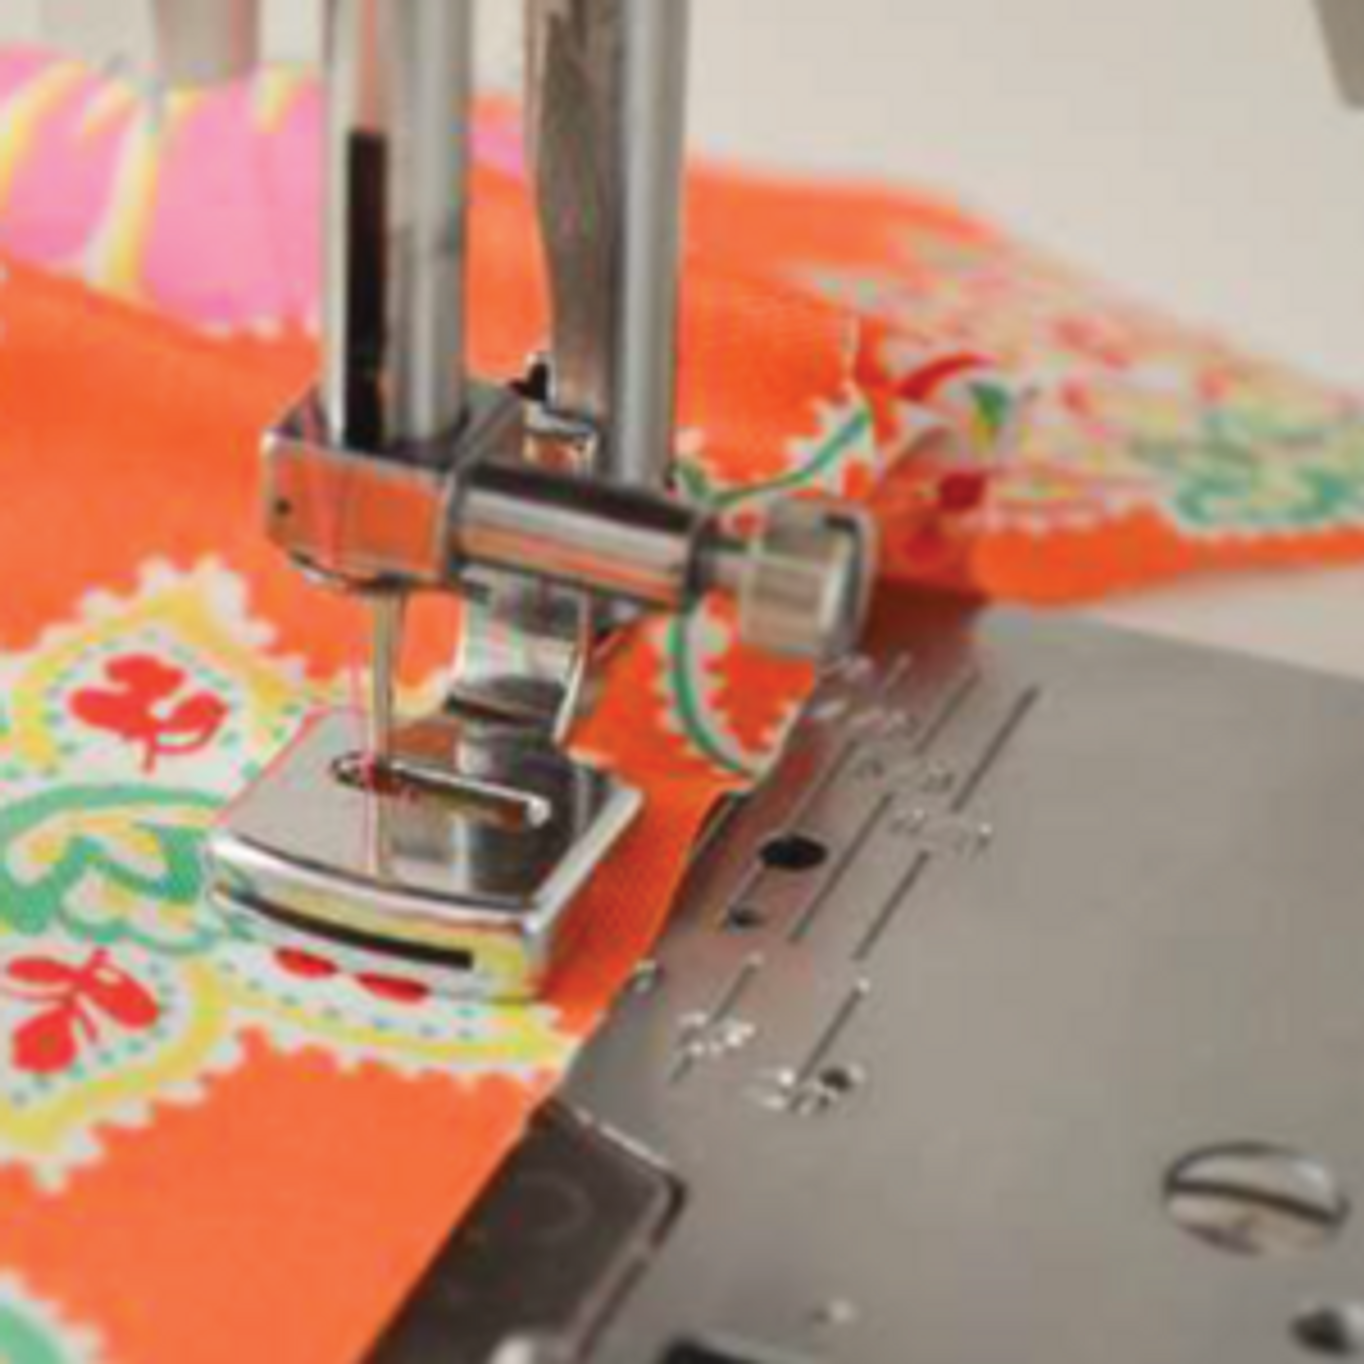
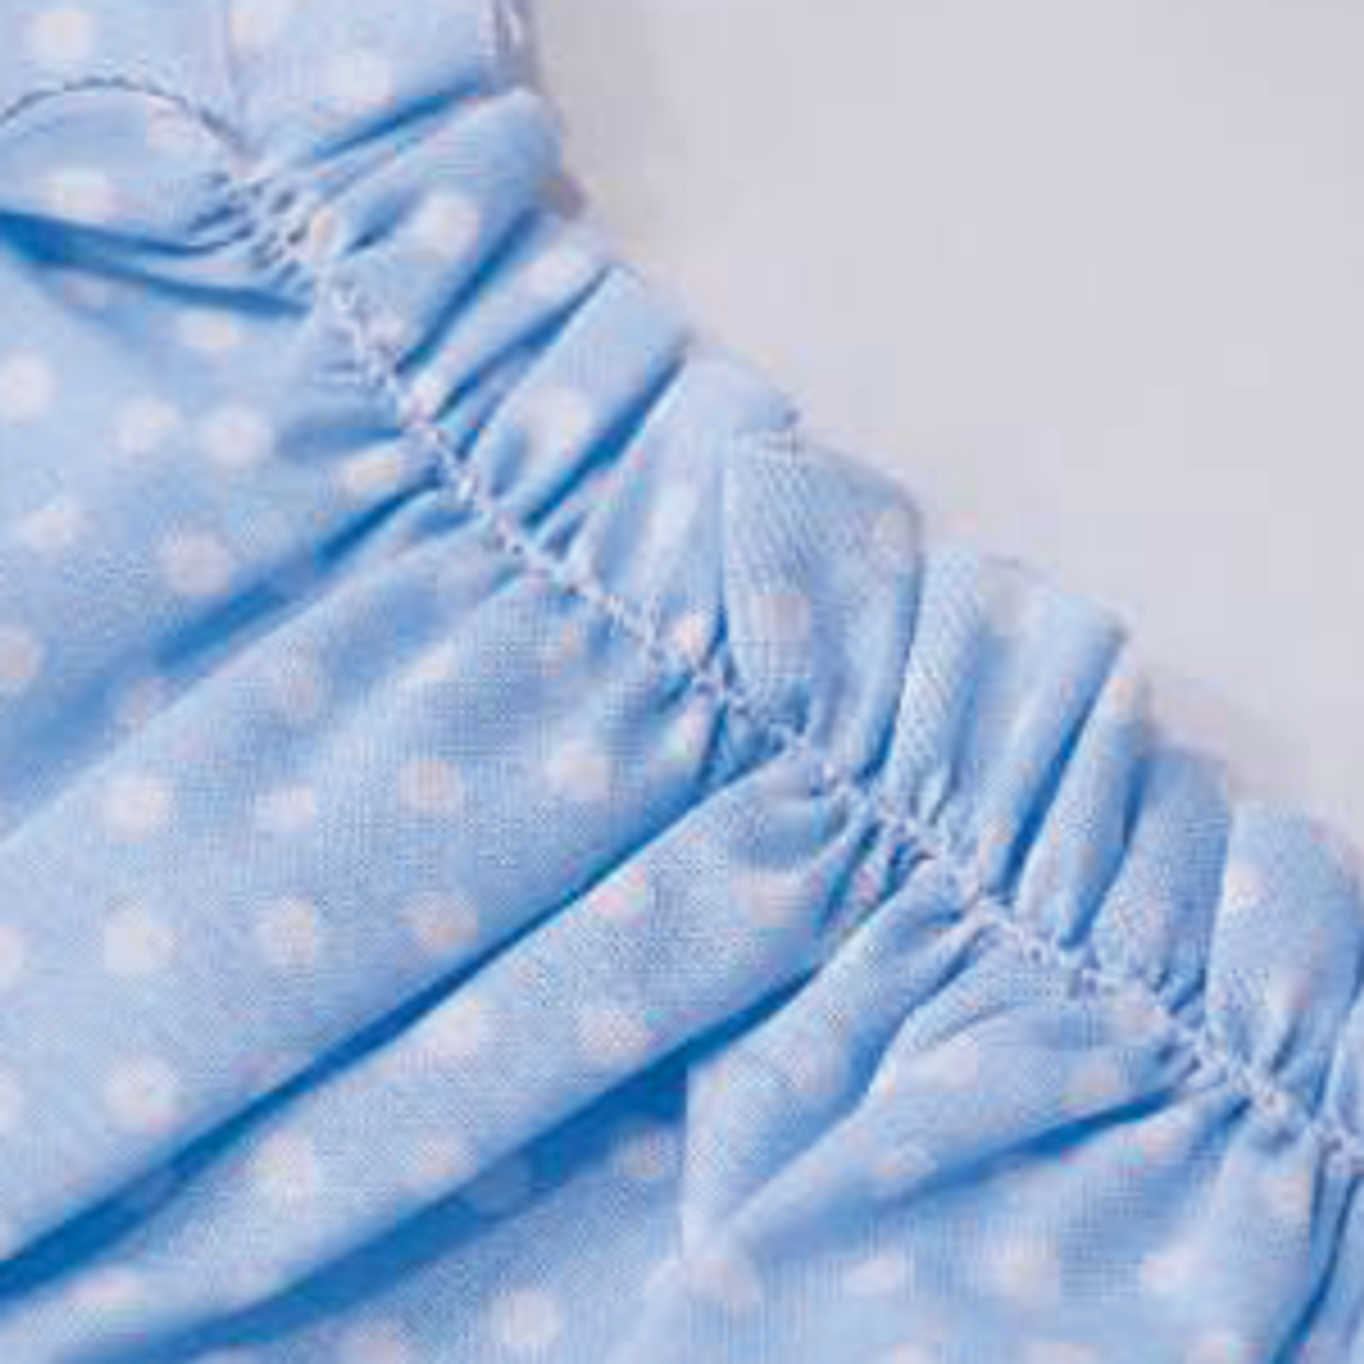
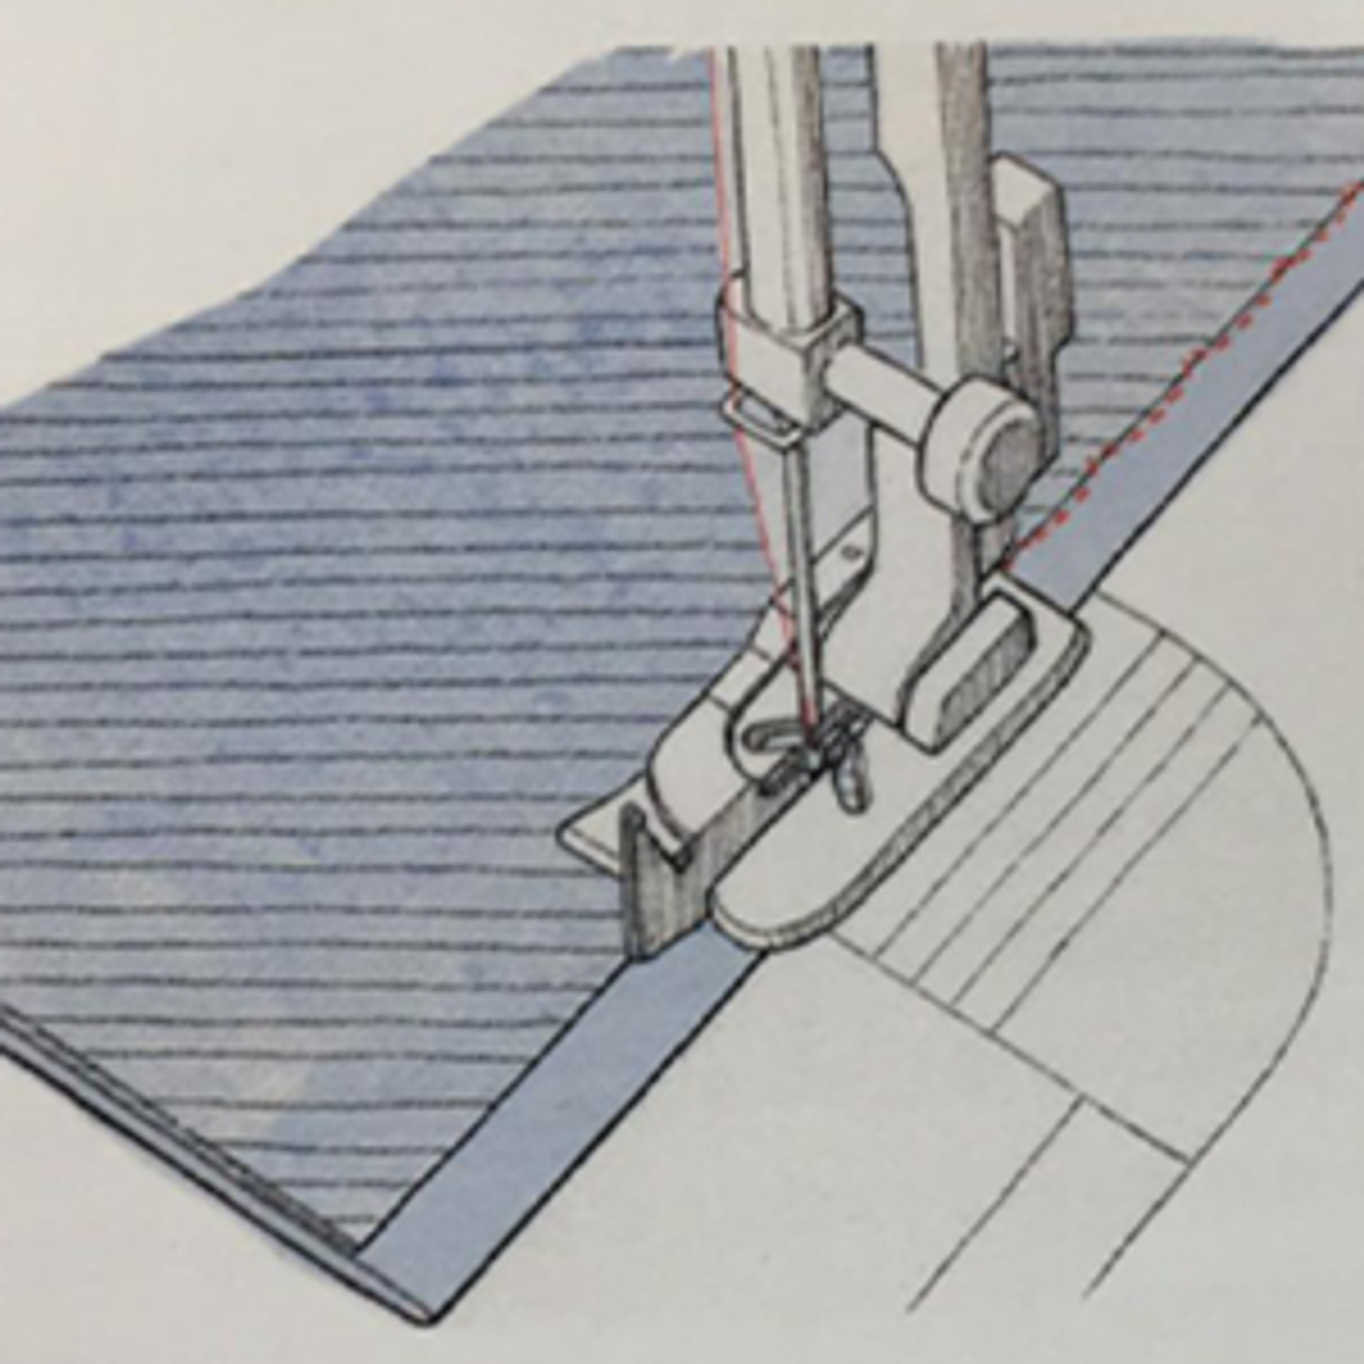
The Gathering Foot is used to form soft gathers in fabric. You can gather a single layer of fabric, or you can join a gathered fabric to a second, flat fabric simultaneously.The Gathering Foot works best with softer, lightweight fabrics. For gathering light to medium fabrics, a Ruffler attachment is recommended. The existing presser foot and shank needs to be removed from the machine before attaching the Gathering Fo
27th May 2016
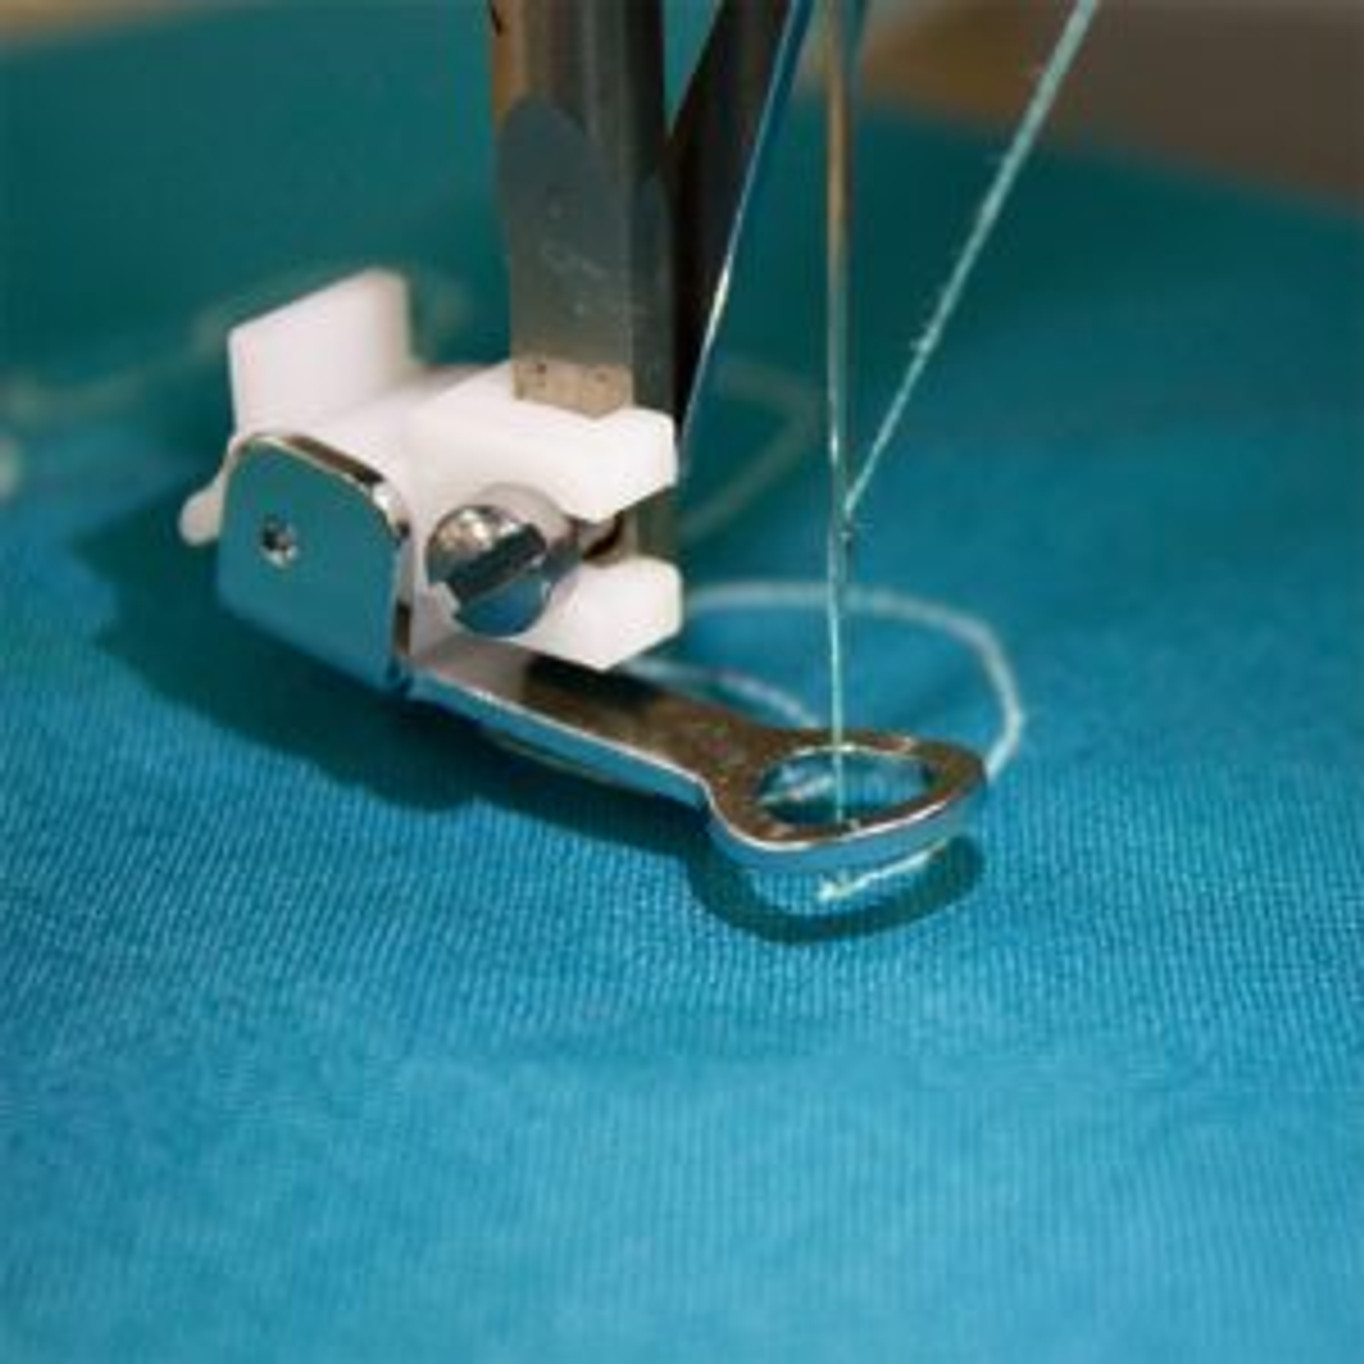
The Button Sewing Foot is used to easily attach buttons by machine. The foot securely holds the button in place, while stillproviding a clear view of the stitching area. In addition, the horseshoe-shaped rubberized grip keeps the button from slipping out of place.The Button Sewing Foot can also be used to attach ribbons, to tack trims in place and even sew on the hook and eye closures.Sewing with the Button Sewing Fo
25th May 2016
The Cording Foot Snaps onto the existing shank and presser foot holder on your machine. The guide on the top of the foot has three slots in which to place cords. To load the cords into the slots on the top of the foot, simply slide the cords in from the right. Load the left cord first, then the center cord and finally the right cord. Tip: Tie the ends of the cords together with a knot in order to keep the cords from
25th May 2016
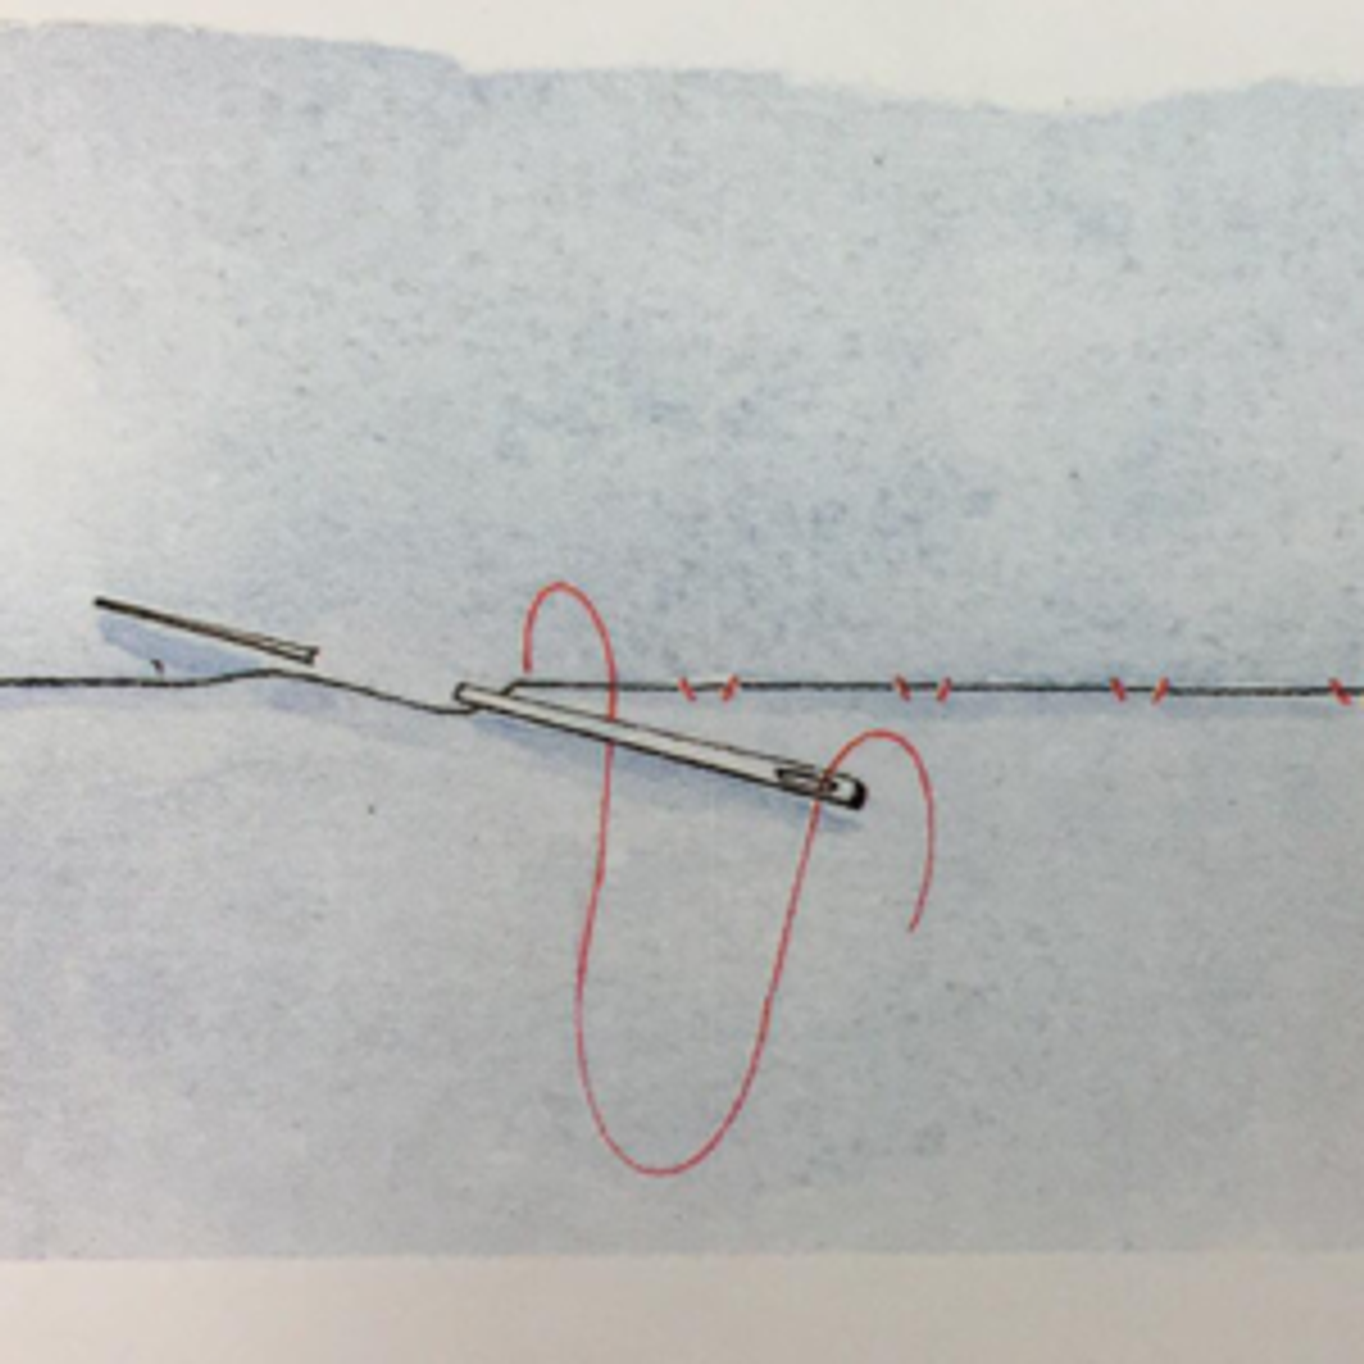
A slip stitch is often used to sew a seam from the outside of a garment or item you are sewing. Most commonly it is used for hems when the seam should remain unseen.Step 1: Thread your hand sewing needle. Pull the thread through as much as you think you'll need for the length of the seam. A good rule of thumb is to double the length. You have have a lot of extra thread, but that is much better than not having enough
29th Apr 2016
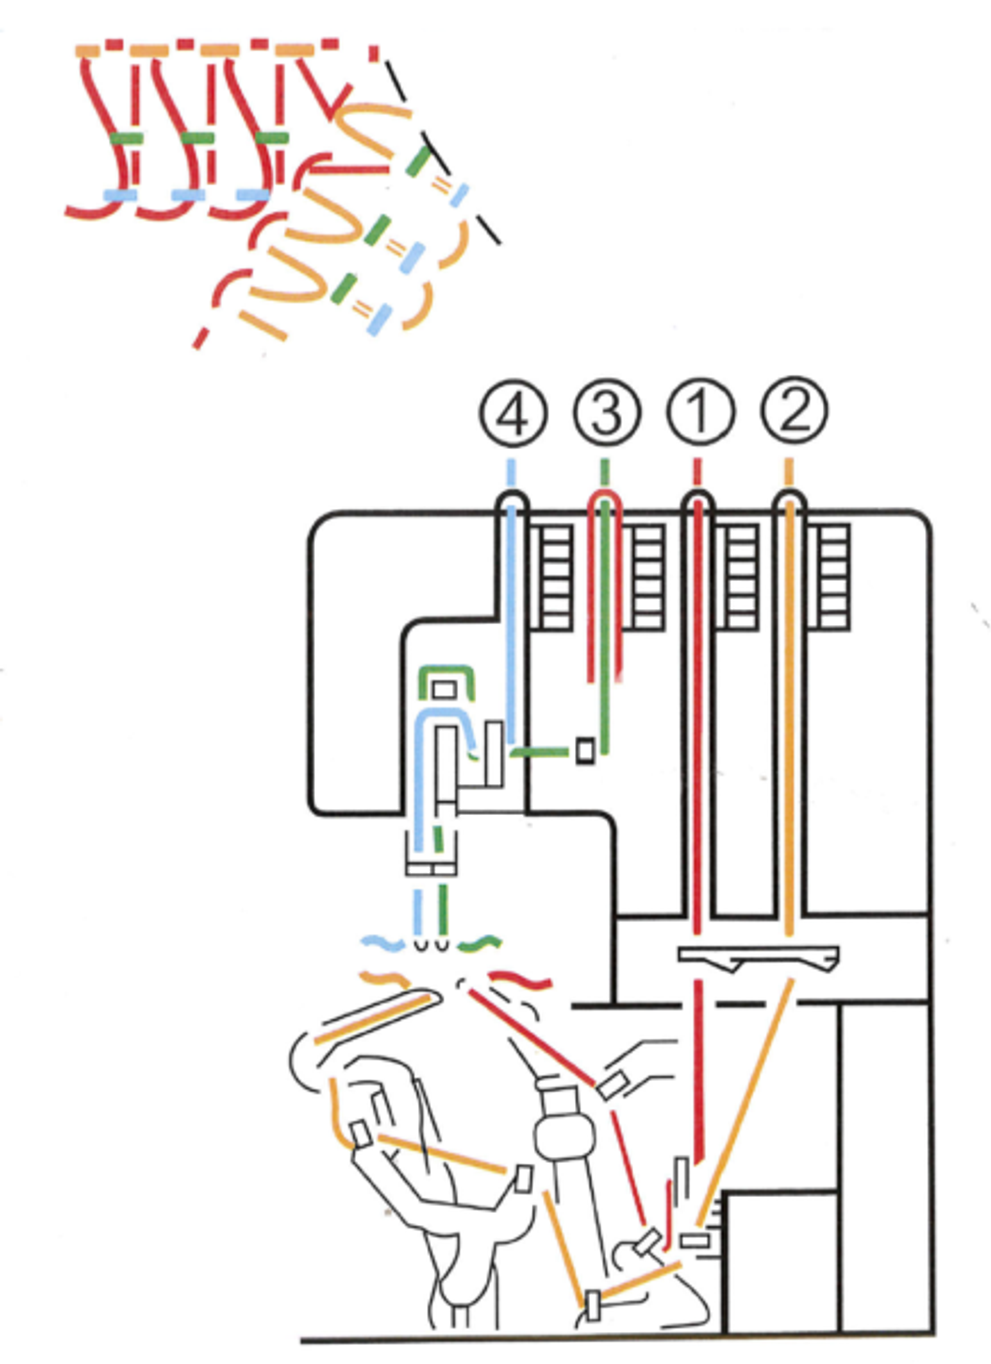
This is only a guide, this may vary depending on what model of overlocker you have. Each overlocker comes with a diagram on how to thread the machine.Ensure that your machine is not plugged in to a power source before beginning.For a 4-thread overlocker machine, you will have the upper looper thread, the lower looper and 2 needle threads.For a 3-thread machine you will have an upper looper, lower looper and a single
11th Mar 2016
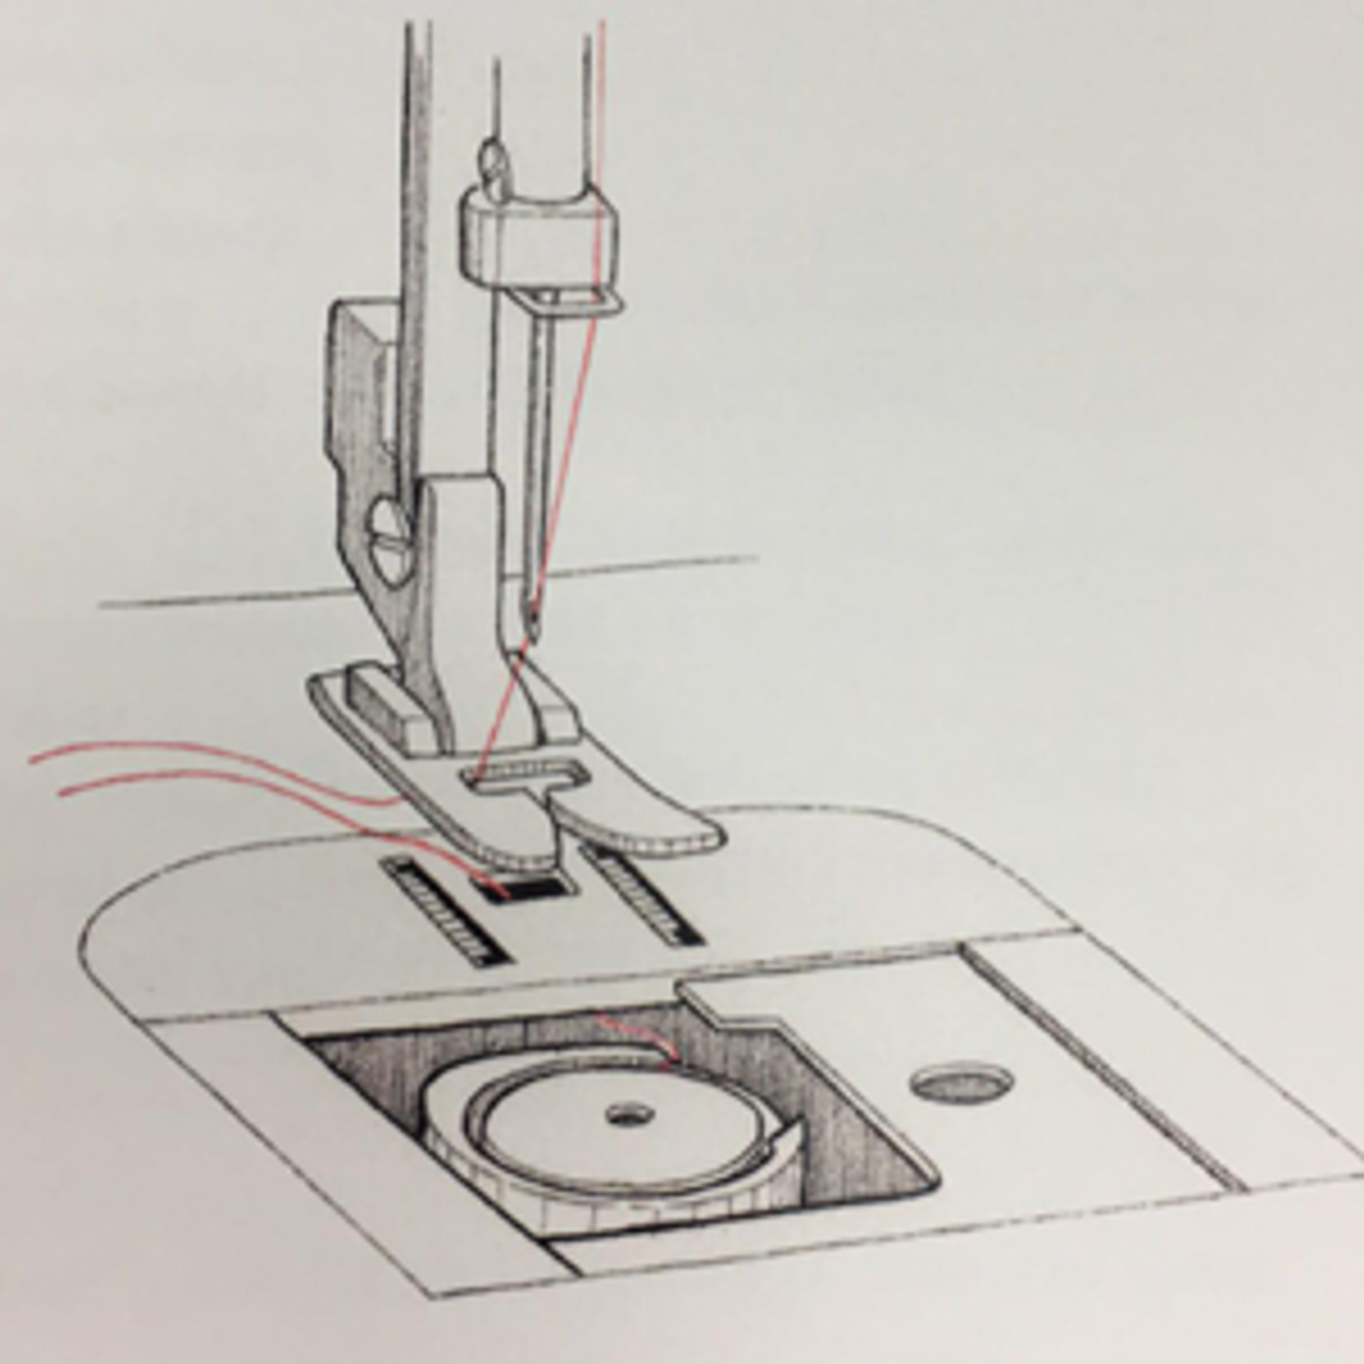
Ensure that the power is switched off.Raise the needle to the highest point by turning the hand wheel slowly towards you.Raise the presser foot.Hold the needle thread.Turn the hand wheel slowly towards you to lower and raise the needle.Gently pull the needle thread to pull up the bobbin thread.Open the loopPull both threads towards the back of the machine.
21st Feb 2016
To create texture in your projects, try free-motion sewing.To set up free motion sewing, cover (or lower) the feed dogs with the Darning Plate from the accessory compartment. Remove the presser foot and shank, then attach the Darning/Embroidery Foot. Select a straight stitch and begin making circular motions on the fabric until it is completely filled in. Do not worry if the stitches are not uniform. Cross the thread
18th Feb 2016
A Blind Stitch Foot is required to do a blind hem.The blind hem stitch is primarily used for hemming curtains, trousers, skirts, etc. Requirements: Presser Foot - Blind Stitch FootThread Tension Control - AutoSteps: First you need to finish the raw edge. Turn the raw edge under on fine fabrics or overcasting it on medium to heavyweight fabrics. Then turn the hem up the required depth, press and pin in place.Now fol
21st Jan 2016
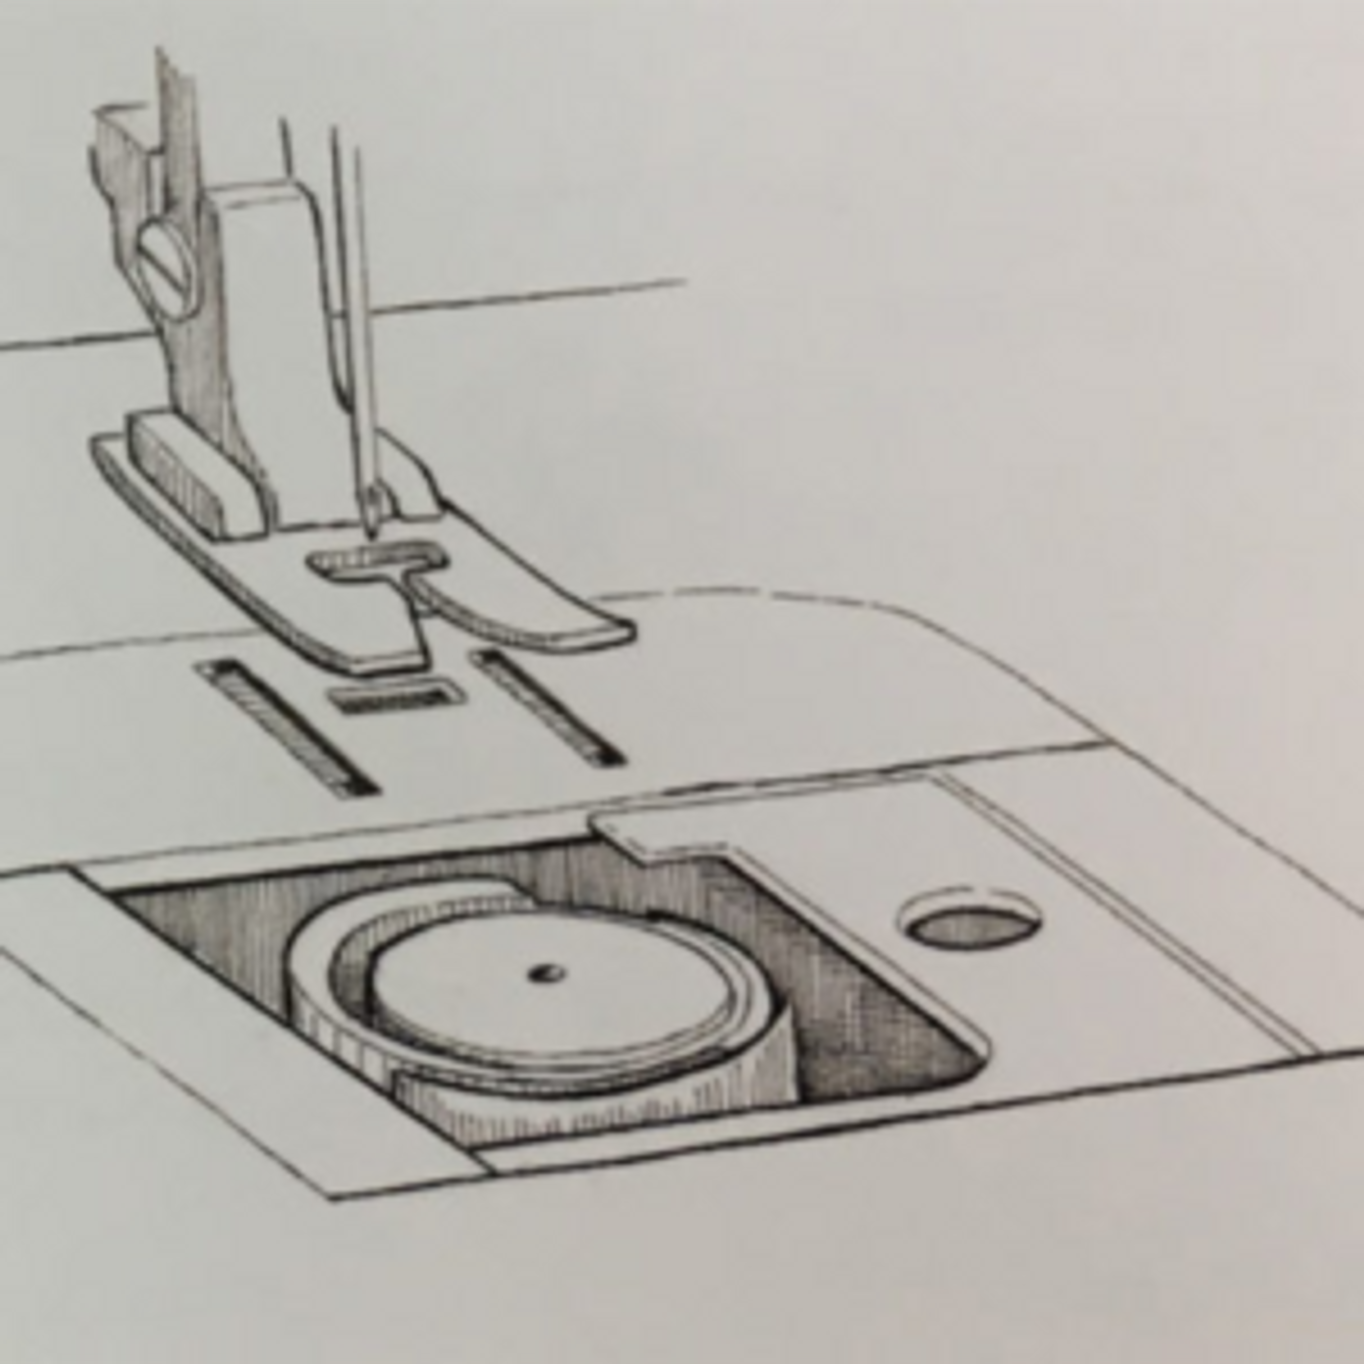
1. Raise the needle to it's highest position by rotating the handwheel toward you.2. Remove the Bobbin cover by pushing the release button, which is located to the right of the cover. The bobbin cover will pop up to allow you to easily remove the cover.3. Insert the wound bobbin making sure the bobbin rotates counterclockwise when you pull on the thread.Note: This is a very important step. If it is not done correctly
21st Jan 2016
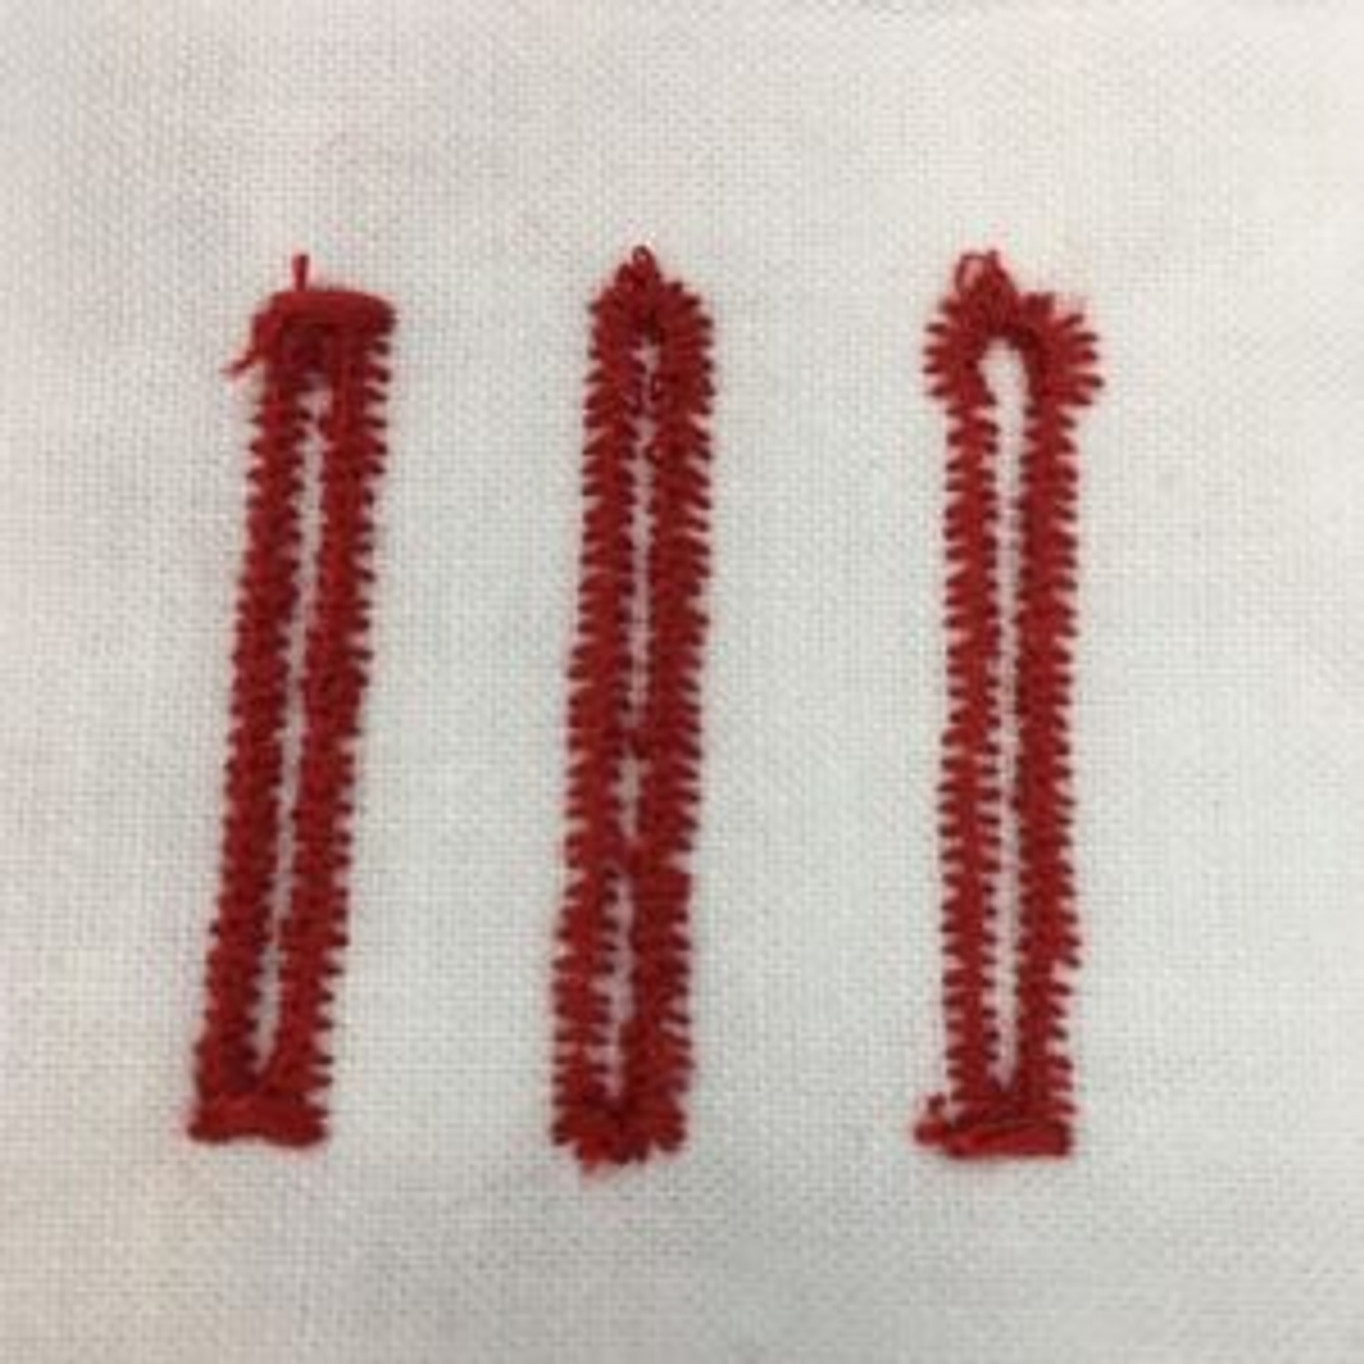
If your four step buttonhole symbols are located on the stitch length dial on the front of your machine read the Manual instructions or watch this VIDEOIf your four step buttonhole symbols are located on the pattern selector of your machine read the Automatic Instructions. 4-Step Manual ButtonholesPreparation: Measure the diameter and thickness of your chosen button and add 1/8" for bar tacks and mark the button hole
21st Jan 2016
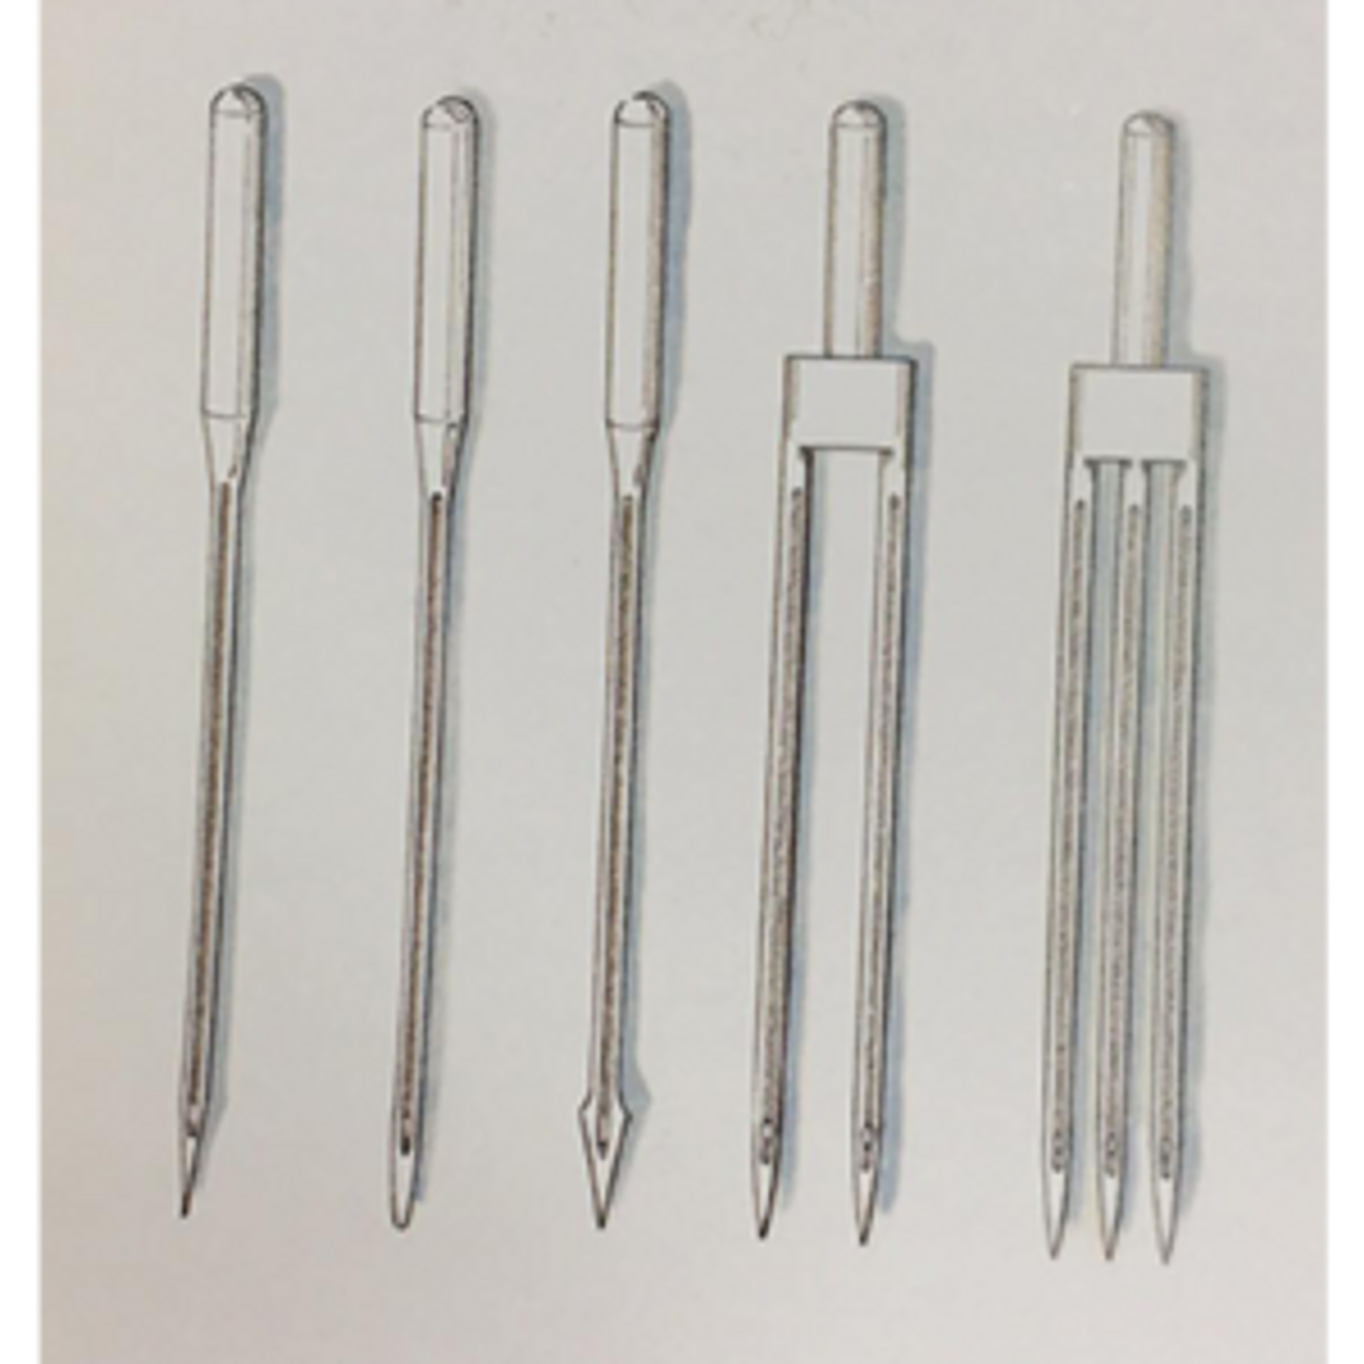
Choosing the correct needle to sew your projects with is just as important as selecting your fabric and thread. There is a diverse range of needles to suit different types of fabrics.The European metric system for sewing machine needles is numbered from 60 to 110. The American sizing system is numbered from 8 to 18. For both of these sizing systems, the lower number is the finer needle and the higher number is the la
21st Jan 2016
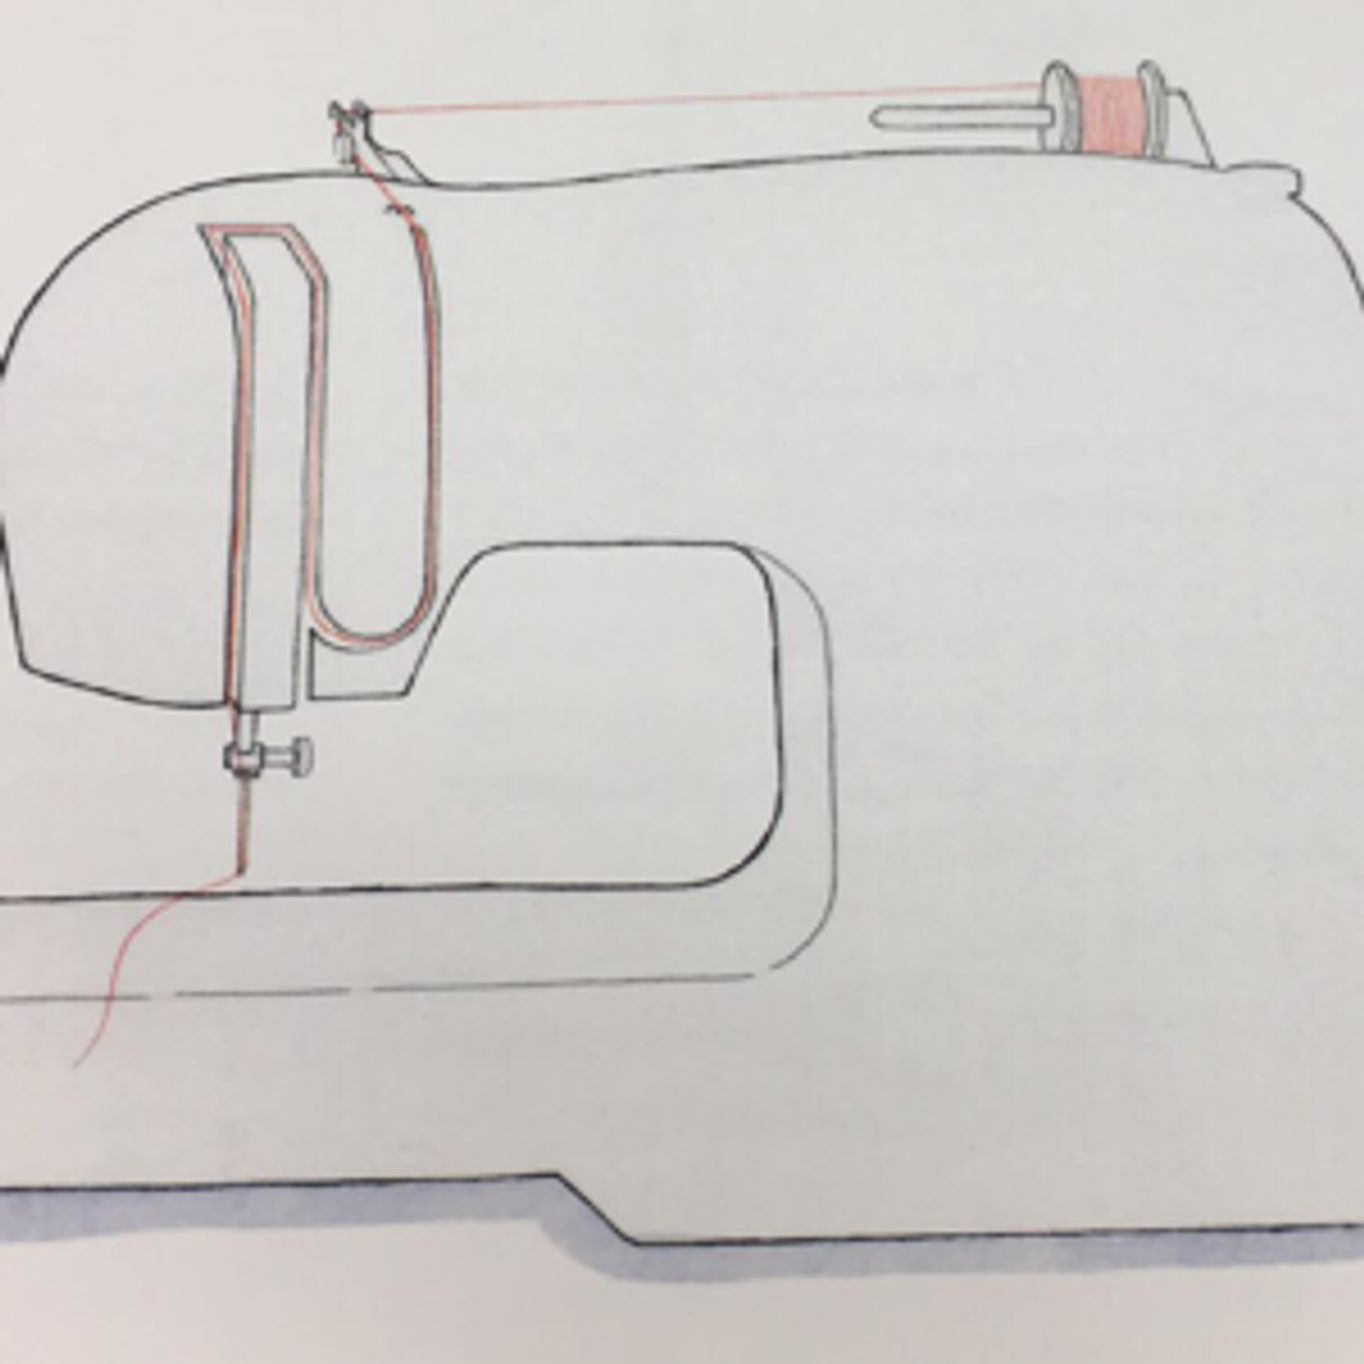
The Singer SwiftSmart Threading System with an Automatic Needle Threader. Simply guide the thread directly from the spool to the needle area through a single groove and thread the needle by simply pressing the lever for effortless threading!When threading your machine using SwiftSmart you have the following options: If your presser foot is up you thread per the manual, holding onto the thread at the start of the proc
21st Jan 2016

